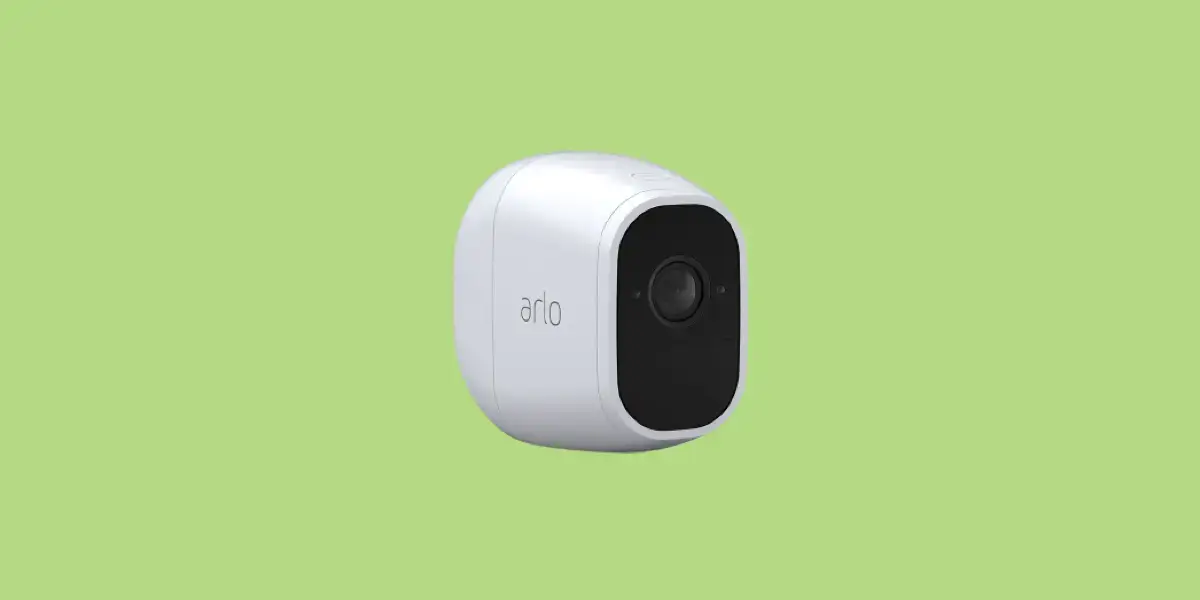
In the world of home security, Arlo Cameras hold a position of prominence. Known for their advanced features and high-quality picture, these cameras have become an integral component in many homes and businesses. However, sometimes it may become inevitable to restore your Arlo Camera to its original factory settings. This process is known commonly as a factory reset.
The necessity for a factory reset for your Arlo Camera could arise due to a myriad of reasons. Perhaps you’re experiencing an unresolvable technical glitch, selling your camera, or you simply don’t remember your camera password. Regardless of the motivation, it’s crucial to have a clear understanding of how to successfully execute a factory reset without compromising your camera’s functionality.
Though necessary, performing a factory reset on your Arlo Camera without a guide can be a daunting task. That’s why we’ve created a comprehensive, easy-to-follow instruction to make the process as smooth as possible for you. This step-by-step guide will aid you in resetting your Arlo Camera, so you can continue to enjoy the high-quality security services it offers.
By following the guide, not only will you learn how to restore factory settings but also understand the subtleties of the process, enabling you to tackle similar tech-related issues with confidence in the future.
Comprehending When You Need to Initiate a Factory Reset on Your Arlo Security Camera
Quite a few scenarios might prompt you to initiate a factory reset on your Arlo surveillance camera. When comprehending when to reintroduce your Arlo camera to its original setup, vivid indicators can guide you.
Erratic Behavior or Performance Issues: You might occasionally notice your Arlo camera behaving unusually or facing functionality issues. This could include problems in live streaming, motion detection glitches, or even difficulty while trying to connect to Wi-Fi. Such persistent problems can signal it’s time for a factory reset.
Changing Wi-Fi Networks: Whenever you’re planning to change your Wi-Fi network, it’s recommended to perform a factory reset on your Arlo camera. It’s an important step in assuring that your camera connects successfully to your new network.
One of the common instances is:
- Device Setup or Re-installation: If you’re moving your Arlo camera to a new location or installing it anew, a factory reset might be necessary for smooth setup and operation.
While resetting your Arlo camera, it’s crucial to remember that this procedure will wipe out your personalized settings and return the camera to its original factory settings. You’ll need to reconfigure all the customized settings thereafter. Ultimately, understanding when your Arlo camera requires a reset can keep your surveillance system functioning at its finest.
Things to Remember Prior to Restoring Your Arlo Security Camera to Its Original Settings
Before the systematic process of reinstalling the default settings of your Arlo surveillance camera, it’s crucial to take some preventative measures to help you avoid unexpected complications. These precautions are necessary to safeguard your account details, data and camera settings.
Backup Essential Data
First and foremost, prior to restoring the settings to their defaults, make sure to back up all vital data that is stored in the camera. This includes video footage and pictures. When you perform a factory reset, all information stored in the camera storage is erased. This is an irreversible process, hence the need to ensure that all pieces of information worth preserving are safely stored elsewhere.
There are numerous ways to back up your data, including cloud storage services or physical storage devices. Choose the most suitable method that fits the size of your data and accessibility needs.
Account Details and Passwords
Another thing you should note down is account username and password. A factory reset of your Arlo camera implies that you would need to set up your camera as if it is brand new. Therefore, you’ll need your login details to reconnect the camera to your account.
Furthermore, if you have customized certain settings for specific requirements, it’s recommended to write down the details or take screenshots as a backup. This way, you can easily reconfigure these settings after the reset.
Remember Your Wi-Fi Settings
Also, make sure you remember your Wi-Fi setup details because you’ll need them to reconnect your Arlo camera to your internet. Therefore, ensure that you recall these details or take note of them.
By following these precautions, you can make certain that the process of restoring your Arlo camera to factory settings goes as planned, without any loss of important data. Always take your time to prepare properly before embarking on a factory reset to avoid any preventable issues.
Equipment Required for Resetting the Arlo Camera
When you plan to get your Arlo Camera back to its initial settings, there are a few essential tools and information that are necessary to complete the process. Please double-check to ensure you have everything you need before starting the reset process.
Essential Items
- You will require the Arlo Camera that you wish to reset. If it’s mounted, you will need to take it down.
- A basic tool which would mostly be a straightened paperclip would be necessary. This would be used to press the reset button, usually located at the base or the back of the camera.
- Thirdly, you need to have your login credentials. Post resetting, all your configurations would be lost and to reintroduce those or to set up a new one, you will have to log back into your account.
Attempting to reset your Arlo Camera without these essential components could lead to a difficult or even incomplete reset process.
Note: Resetting an Arlo camera should be thought of as a final step, if all else troubleshooting methods have failed. This is because it takes the camera back to the default factory settings and all the saved configurations will be lost.
Understanding the Arlo Camera’s Reset Process
The reset process for the Arlo Camera is quite straightforward but involves a series of specific steps. Here’s a brief summary of what you can expect.
Arlo Camera Reset Steps
To initiate the reset, you’ll first need to locate the camera’s reset button. This is typically positioned at the base of the camera for most models. A key factor to note is that the camera should be powered on while the reset process is carried out.
Once the camera is powered on, you will need to press and hold the reset button for approximately ten seconds. You’ll know the process is occurring correctly if you see the camera’s LED blink amber. After the LED stops blinking, the camera will reboot. This restart might take a while, so be patient.
After rebooting, the Arlo camera will return to its default factory settings. This means any customizations you made to your settings will be lost and need to be set up again.
- Important: If you have multiple Arlo cameras, remember that the reset process must be carried out on each camera individually!
Rest assured, resetting your Arlo camera is perfectly safe. It’s a common troubleshooting step suggested by experts and the Arlo support team when faced with certain types of issues. So, if your Arlo camera isn’t functioning as smoothly as it should, a factory reset could be your solution.
Step One: Switching off Your Arlo Surveillance Device
The first thing you ought to do when preparing to restore your Arlo security equipment to its original settings is to ensure that the device is powered off. This process is quite simple and straightforward. Here’s a comprehensive guide.
Signs that Your Surveillance Device is Switched Off
Before you initiate the process to shut off your Arlo camera, it’s essential to know what signifies that the camera is actually off. If the camera LED isn’t flashing or showing any colors, then that’s a good sign the camera is off.
How to Power Off Your Arlo Camera
Follow these simple steps to turn off your Arlo camera:
- Begin by locating the power button on your Arlo camera; it is usually at the back of the device.
- Once you’ve found the power button, make sure to press it, then wait for about a minute.
- Check the camera LED. If it doesn’t show any indication of power, the camera has successfully been switched off.
Remember, it is crucial to ensure that your surveillance device is powered off before proceeding to the next steps of resetting. This prevents the risk of electrical shocks or damage to your camera.
Once the Arlo camera is off, you can move forward with the remaining steps of the factory reset process. Whether you’re troubleshooting an issue or just want to give your device a fresh start, a factory reset might be exactly what your Arlo camera needs.
A Detailed Guide through the 2nd Step: Accessing the Battery Section
Checking Your Arlo Camera Model
Before opening the battery compartment of your Arlo camera, it’s essential to ensure you know the make and model. Different models might have different ways to access the battery section. If you’re unsure about your Arlo camera model, refer to the product box or the camera itself. Often, sticker or engraving will state the model number.
Locating the Battery Compartment
When you’re sure of the model, the next step is to identify the battery compartment. Keep in mind that the battery section of your Arlo camera might not be immediately visible. For some models, it could be on the back, bottom, or even within the camera body. Nevertheless, it’s usually marked with a battery icon or labeled ‘BATT’ or ‘BATTERY’.
Opening the Battery Compartment
Once you’ve located the battery compartment of the Arlo camera, the next course of action is to unlock it. This is typically done by pressing a button, sliding a latch, or unscrewing a knob depending on the model. It’s imperative to exercise caution while opening it up to avoid damaging any delicate parts.
Tips for Safely Opening the Battery Compartment
- Don’t use excessive force. If you’re having difficulty opening the battery compartment, double-check to ensure you’re doing it correctly. Forcing it open can damage the camera.
- Use a soft, dry cloth to grip if the hatch is slippery or tight.
- Avoid using sharp tools to pry open the battery compartment as this might lead to physical damages.
- In the event of a stuck compartment, try a slight wiggle. However, if it still doesn’t open, reach out to Arlo support before you try anything else.
In the following text, we will further provide steps on how to remove and replace the batteries correctly and safely.
Third Phase: Discovering the Reset Feature on Your Camera
In the process of resetting your camera to its factory setting, the third step is to find the reset button on your device. This step is crucial as it would initiate the entire reset process. However, the location of the reset button might differ based on the type of Arlo camera you have.
If you have the Arlo Pro or Arlo Pro2 Camera, the reset button is situated at the bottom of the camera. For the Arlo Go, Arlo Q, or Arlo Q plus cameras, you can find the reset button at the back of the camera.
When it comes to the Arlo Ultra & Ultra 2, and Pro3 & Pro4 series, it is a bit different. These models rather have a door located underneath the device, and beneath that door, there is a reset button, which is called a ‘Set’ button.
Steps to locate the Reset Button
- Firstly, hold your Arlo camera firmly.
- Inspect it carefully, turn it around until you find the reset button. As mentioned, it is usually located at the bottom or the back of the camera. Depending on what model you have, you may need to open a door to see it.
- Ensure to correctly identify the reset button to avoid pressing the wrong button.
Remember: this button is small, so delicate handling of the camera during this process is recommended not to damage the reset button accidentally.
Note: A pointy object like a paperclip would be required to press this button as it is slightly recessed to avoid unintentional resets.
The Procedure for Engaging a Complete Reset on Your Arlo Camera
Attention should now turn to the fourth step in our guide: instigating the factory settings restoration procedure in your Arlo Camera. Implementing this process essentially reverts your device back into the ‘fresh-out-of-the-box’ state by erasing all data, settings and personalized configurations. This is a crucial step so it’s important to ensure that all steps prior to this have been accomplished adequately
Resetting the Arlo Camera
To commence the restoring of factory settings on your Arlo Camera, you need to locate the ‘Reset’ button, often positioned at the back of your device. This might be a small hole or pinhole, usually requiring a thin object like a paperclip to access. Ensure the power is connected to your camera before proceeding. Using your paperclip, press, and hold the ‘Reset’ button for approximately 10 seconds.
Note the flashing of LED lights on your device. If the reset process has started correctly, the camera’s LED will flash amber rapidly, indicating that the device is resetting and returning to its factory settings. After the process, the Arlo camera will reboot itself which can take a few minutes.
Don’t be alarmed if your camera takes longer to reboot- this is perfectly normal and is a part of the resetting process. It’s important to let the camera complete the process without interruption.
Keep it in mind that resetting will erase all personalized settings on the device, so ensure you have noted down or remembered any important configurations you’ll want to apply again once the camera reboots.
In case you encounter any issues, technical hitches or the camera fails to reset, it’s recommended you immediately look for a professional opinion or contact Arlo’s customer support for further guidance and assistance.
Step Five: Making Sure Your Arlo Camera Has Been Completely Reset
After following the necessary procedures to reset your Arlo camera, it’s crucial to confirm that the device is successfully reset to its factory default settings. Here is how you verify it:
Checking the Reset Lights
One intuitive way of verifying that your Arlo surveillance camera has performed a factory reset is by checking the LED lights. After the reset process, the LED lights on the camera should behave in a specific way that indicates the reset has been successful. Typically, the lights will momentarily blink and then come back on steadily. This sequence of light patterns serves as an assurance that the reset process has been executed correctly and concluded.
Synchronizing the Camera to the Arlo Base Station
Once you have confirmed the reset through the light patterns, the next important step is to synchronize the camera back to your base station. You should do this by pressing the Sync button on both the base station and the camera within two minutes of each other. If the sync process was successful, the LED light will blink rapidly and then turn solid green. This shows that the factory reset process has been completed and the camera is now ready to be re-configured and put back into use.
- Remember: If the light does not behave as described or you encounter any difficulties during the synchronization process, it would be wise to repeat the reset procedure or get professional assistance.
Resetting your Arlo camera is a vital troubleshooting method that may solve a host of technical issues you might be experiencing. Always ensure that every step is followed keenly and the reset is confirmed for you to enjoy the optimum functionality of your Arlo surveillance camera.
How to Set Up Your Arlo Security Camera Following a Full Restore
After successfully executing a total restore of your Arlo Security Camera, you will need to reconfigure it to its previous settings. These setups are integral to get your device up and running.
Steps in Re-establishing Your Arlo Security Camera
- Firstly, reconnect the camera to your WiFi network. Your Arlo device will not function without a proper connection to the internet. Ensure that you select the correct network and input the right password.
- Next, you need to log in to your Arlo account. If the total restore erased your account, you would have to create a new one. Use a valid email address and secure password for this.
- After you are logged in, add your Arlo device to your account. This helps the system recognize your camera and apply all personalized settings to the device.
- Configure the camera settings to suit your security needs. This includes motion detection sensitivity, night vision activation, audio settings, and video resolution.
- Set up the geographical location of the camera. This feature allows your camera to adjust to the sunrise and sunset times in your location, thereby enabling or disabling night vision mode automatically.
- Lastly, do a final review of all the settings and save them. Your Arlo camera is ready now and will function based on your preferred configurations.
Note: Always test your camera after reconfiguring it to be sure that it works as intended. If you face any problems, consult the Arlo customer care or refer to some online help tutorials.
Solving Issues That May Arise After Resetting Your Arlo Camera to Factory Settings
Even though returning your Arlo camera back to its original settings can solve multiple issues like connectivity malfunctioning or software hitches, it may sometimes lead to the creation of new problems. However, these troubles are mostly related to the setup and installation aspects, which can be resolved with some guidance and patience.
Below are some common problems and their solutions:
- Camera not turning on: Following a reset, if the camera is not switching on, it can be linked to a power issue. Ensure that the camera is adequately charged and the power cords are securely connected.
- Camera not connecting to the network: After a factory reset, the camera needs to be reconnected to the network. If you face issues in this stage, verify that the Wi-Fi credentials were entered correctly. Also, ensure you are in the range of the Wi-Fi router while setting up the connection.
- Blurred or fuzzy video: If you find that video quality has deteriorated after the reset, make sure that the camera lens is clean. As the Arlo’s resolution is controlled by software, check and ensure if the firmware is up-to-date.
- Camera not detecting motion: Due to a factory reset, all previous settings would have been erased, including the motion detection settings. You need to set up this feature again from the camera settings in the Arlo application.
If you continue to face issues post resetting your Arlo camera, it is recommended to reach out to customer support. They have experts who are well-equipped to handle technical issues and will guide you.
FAQ: How to factory reset arlo camera
Why isn’t my device turning on after a factory reset?
This may be due to a power issue. Check if your device’s battery is properly charged. If it still doesn’t turn on, the reset might have failed and corrupt the system. It’s best to bring your device to a professional to have it checked.
I can’t connect to WiFi after a factory reset, what should I do?
First, restart your modem or router. If it doesn’t help, check the network settings on your device. Sometimes, you may need to manually set up the connection again after a reset.
Why did my apps disappear after performing a factory reset?
Doing a factory reset returns your device to its original settings and erases all data including installed apps. You can reinstall your apps from your device’s app store using the same account you used before the reset.
How can I recover my lost data after a factory reset?
Unfortunately, in most circumstances, data lost during a factory reset is unrecoverable. It’s recommended to always backup your data before performing a factory reset.
My device is running slower after a factory reset, why is that?
Your device may be installing and updating the system and apps in the background after a factory reset. Give it time to complete these processes. If it remains slow after a few hours, there might be a problem with your device.
Why can’t I sign in to my account after a factory reset?
The resetting process might have logged you out of all your accounts. Make sure you’re entering the correct credentials. If you can’t remember them, use your device’s account recovery option.
My screen keeps freezing after my device has undergone a factory reset. What should I do?
Try restarting your device. If this still doesn’t solve the issue, the factory reset might not have completed successfully. It could also be a hardware problem. If the problem persists, consider contacting the device’s support line or taking it to a professional.
Why isn’t my device charging after a factory reset?
Check if the charging issue is due to a faulty cable, charger, or socket first. If these are working properly and the issue persists, the problem might have been caused by the factory reset. Contact a professional for help.
Why can’t I connect to WiFi after performing a factory reset on my device?
As a factory reset restores your device to its original settings, it erases all your saved settings, including your WiFi passwords. You would need to manually connect to your WiFi again by entering your password. If you still can’t connect, the problem might be related to your hardware or router, not the factory reset itself.
Why is my phone running slow even after performing a factory reset?
A factory reset should generally make your phone faster by removing old, unnecessary files and freeing up space. If your phone is still running slow after a factory reset, it might be because the phone’s hardware is outdated, your operating system needs an update, or you’ve installed a lot of heavy apps. In some cases, your phone might just need some time to re-index files after the reset, which could temporarily slow things down.