Table of Contents
Understanding Your Smoke Alarm: A Personal Safety Journey

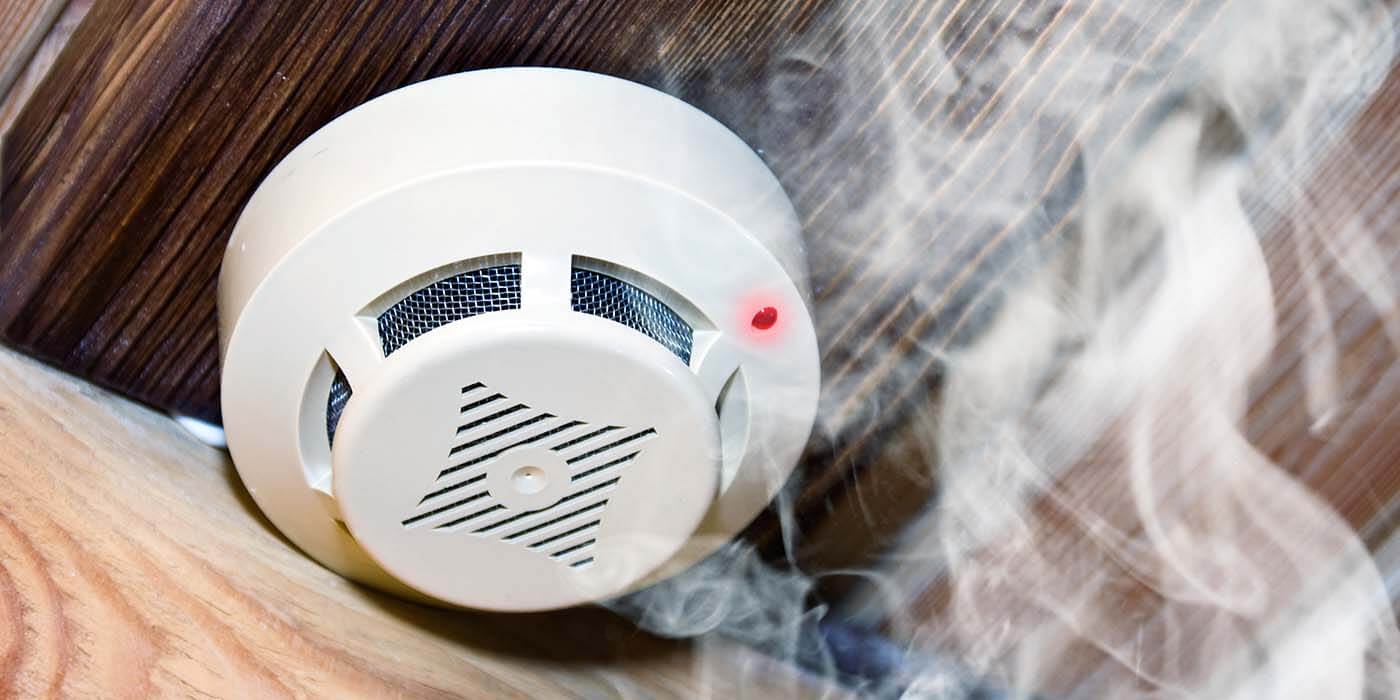
In our quest for safety, one device that often goes unnoticed yet plays a crucial role is the smoke alarm. Whether it’s a sizzling pan that got a little too hot or a more serious home incident, a smoke alarm is our first line of defense, alerting us to potential danger. As someone who once experienced a minor kitchen mishap, I can attest to the importance of understanding and maintaining your smoke alarm.
What is a Smoke Alarm and How Does It Work?
A smoke alarm, also known as a smoke detector, is a device that senses smoke, typically as an indicator of fire. When it detects smoke, it emits a loud alarm to alert individuals in the premises.
Smoke alarms come in two types:
- Ionization alarms – These alarms are more responsive to flaming fires. They have a small amount of radioactive material between two electrically charged plates, which ionizes the air and causes current to flow between the plates. When smoke enters the chamber, it disrupts the flow of ions, thus reducing the current and activating the alarm.
- Photoelectric alarms – These alarms are more responsive to fires that begin with a long period of smoldering. They use a light beam and light sensor in a sensing chamber. When smoke enters the chamber, it deflects the beam, causing the light to hit the sensor and trigger the alarm.
My Encounter with the Smoke Alarm
I once had a minor mishap while cooking dinner — a forgotten pan on a hot stove. The rising smoke triggered my First Alert smoke alarm, alerting me to the situation. Thankfully, I was able to swiftly handle the situation, with the smoke alarm acting as my timely savior.
That incident was an awakening for me to the importance of smoke alarms and understanding their functionality.
Regular Maintenance and Testing of Smoke Alarms
After my kitchen episode, I became more proactive about maintaining my smoke alarms. Here are the steps I take:
- Test monthly: I press the ‘test’ button on my smoke alarm to ensure it’s working correctly. It should emit a loud siren if it’s functioning.
- Clean semi-annually: Dust and debris can cause a smoke alarm to malfunction. I use my vacuum cleaner’s brush attachment to clean the air vents of my smoke alarm every six months.
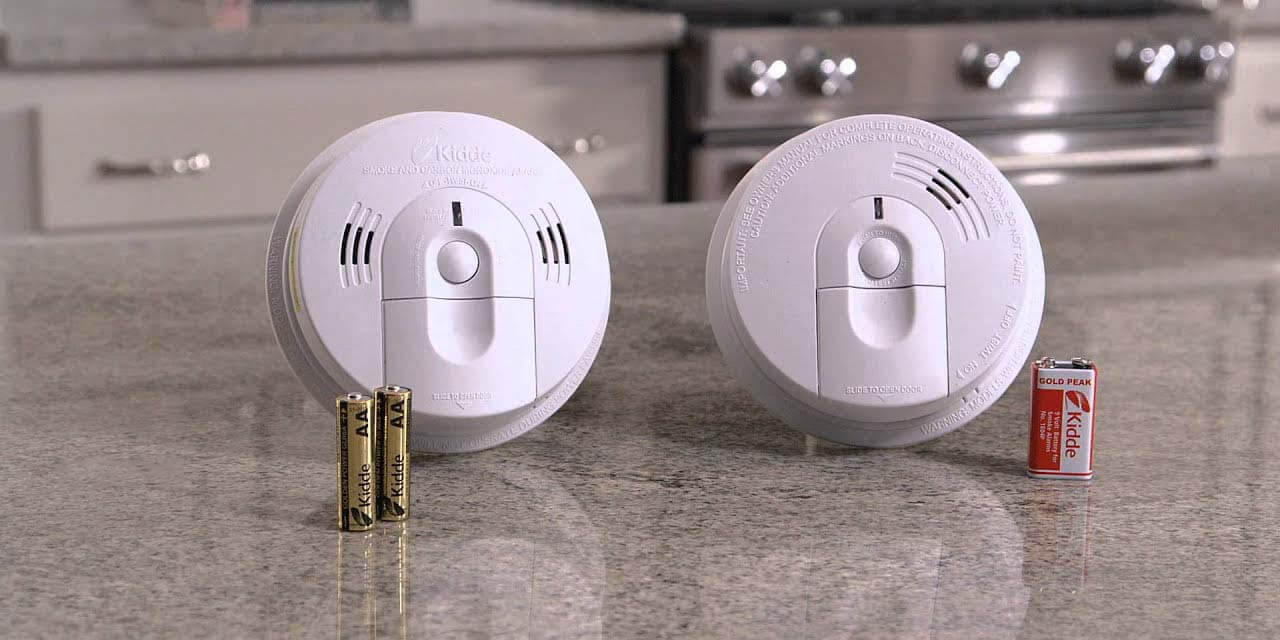
- Battery replacement: If your smoke alarm is battery-operated, it’s crucial to replace the batteries at least once a year. For my Kidde smoke alarm, I replace the batteries every Daylight Saving Time change as a reminder.


When and Why You Might Need to Turn Off a Smoke Alarm: A Personal Narrative
Smoke alarms, our reliable guardians against fire-related incidents, have undeniably become a staple in most homes. Yet, there are times when these devices can pose a challenge. Based on my personal experience and understanding, this blog post aims to discuss when and why you might need to turn off your smoke alarm.
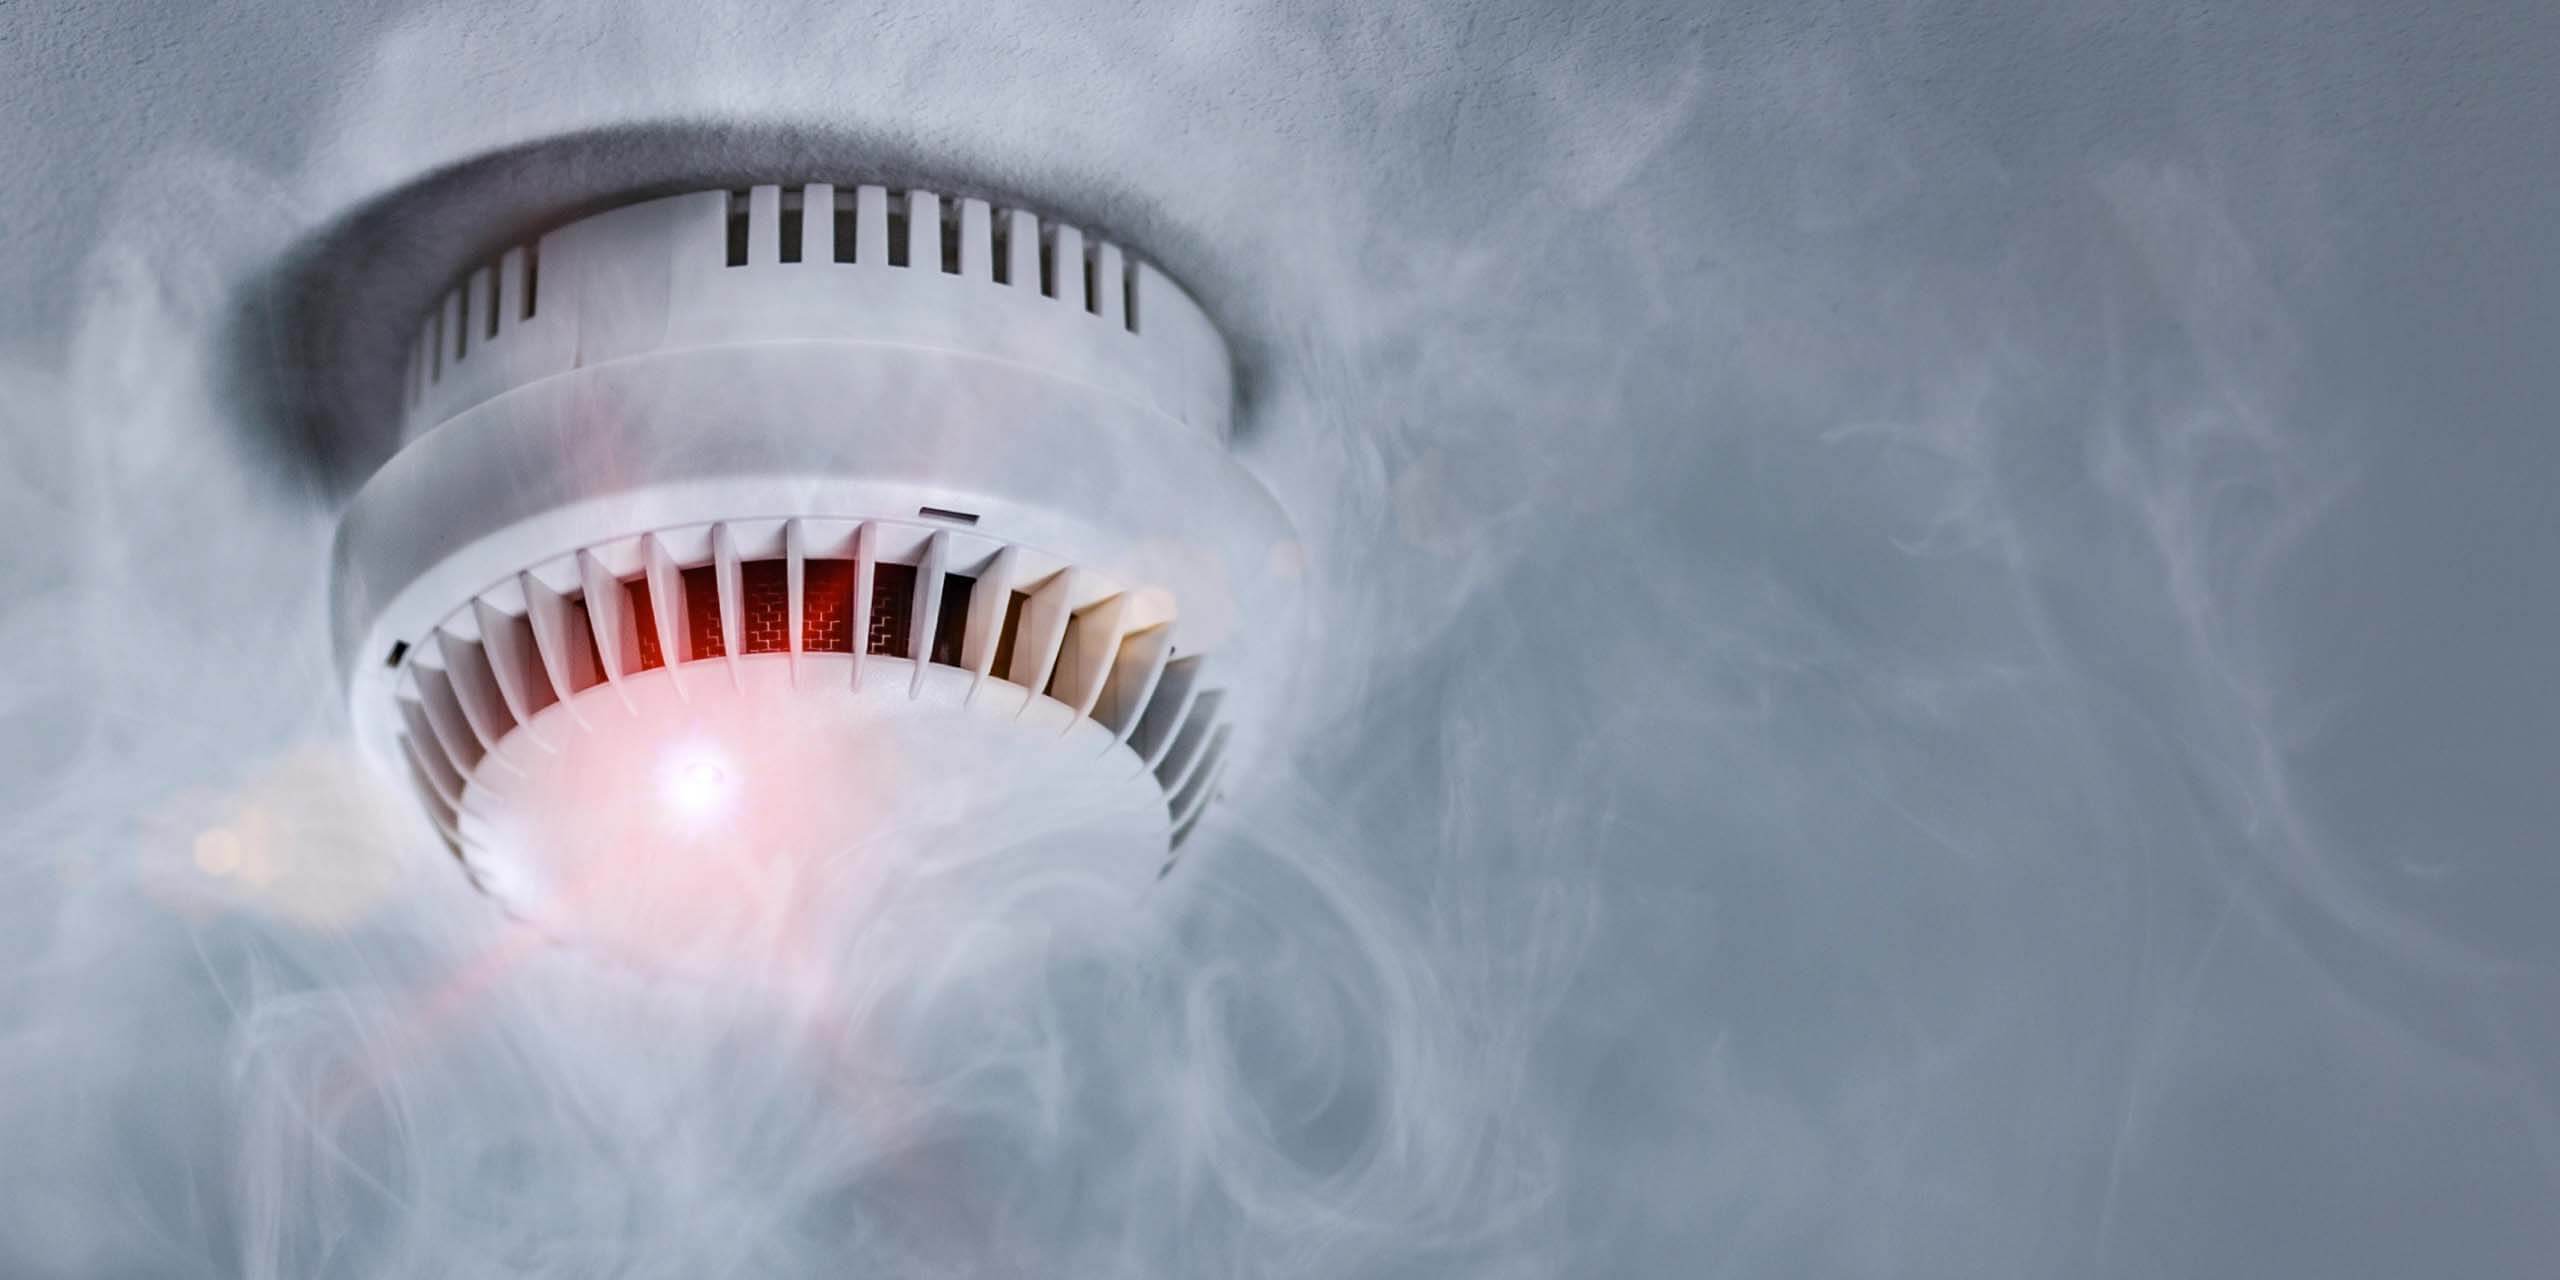
The Sensitive Nature of Smoke Alarms
By design, smoke alarms are sensitive to ensure they alert us at the earliest sign of danger. However, this sensitivity can sometimes lead to false alarms, triggered by steam from a hot shower, burnt toast, or even excessive dust.
I once had a humorous (though a tad bit annoying) experience when my smoke alarm took offense to my burnt culinary experiment. The piercing sound echoed throughout my home, causing a momentary panic before I realized the cause.
When to Turn Off a Smoke Alarm
You might need to turn off your smoke alarm in the following scenarios:
- False Alarms: To silence the alarm during instances like my culinary misadventure.
- Maintenance or Cleaning: Dust and debris can affect a smoke alarm’s sensitivity and lead to false alarms. Regular cleaning can prevent this, but it’s important to turn off the smoke alarm first to avoid accidental triggers.
- Battery Replacement: If your smoke alarm is battery-operated, like my First Alert model, you need to turn it off before replacing the batteries.
- Replacing the Unit: If your smoke alarm is outdated or malfunctioning, you might need to replace it, requiring you to turn it off and disconnect it.
The Importance of Swift Reconnection
While turning off the smoke alarm may be necessary in certain scenarios, it’s crucial to reconnect or turn it back on immediately afterward. A smoke alarm can only protect you if it’s working and activated.
After my burnt toast episode, I made sure to clean the smoke alarm to prevent future false alarms and reconnected it right away. I also routinely check my smoke alarms to ensure they’re functional.
How to Turn Off a Smoke Alarm: A Step-by-Step Guide from Personal Experience
As a homeowner and tech enthusiast, I’ve experienced my fair share of false alarms from my smoke detector. While these little devices are crucial for our safety, there may be times when we need to turn them off. Whether it’s a false alarm, maintenance, or battery replacement, knowing how to safely turn off a smoke alarm can come in handy. Drawing from my personal experiences, I’ve put together this step-by-step guide on how to turn off a smoke alarm.
Safety First
Before we delve into the steps, remember to always prioritize safety. Turning off a smoke alarm should only be a temporary measure. If it’s a false alarm, the device should be cleaned and reset. If it’s for maintenance, it should be restored as soon as possible.
Step-by-Step Guide on How to Turn Off a Smoke Alarm
Follow these steps to safely turn off your smoke alarm:
- Identify the Smoke Alarm Type: Smoke alarms are generally of two types – battery-operated and hardwired. I have a battery-operated First Alert model in my home. Identifying the type helps in understanding the correct way to turn it off.
- For Battery-Operated Smoke Alarms:
- Locate the Battery Compartment: This is usually at the back of the unit. In my model, it’s a simple slide-out tray.
- Remove the Batteries: Take out the batteries to power off the smoke alarm. Handle the batteries with care.
- For Hardwired Smoke Alarms:
- Turn Off the Main Power: The circuit breaker box in your home should have a switch for the smoke alarm circuit. Turn it off to cut the power supply.
- Detach the Smoke Alarm: Twist the smoke alarm off its mounting bracket.
- Disconnect the Power Plug: The power plug connects the alarm to the power source. Unplug it to turn off the smoke alarm.
Remember, if you’re not comfortable handling electrical appliances, it’s best to call a professional.
Restoring the Smoke Alarm
Once the required task is complete, the smoke alarm should be restored immediately. For a battery-operated model, reinsert the batteries and test the alarm. For a hardwired model, reconnect the power plug, attach the unit to the bracket, and turn the power back on from the main supply.
Troubleshooting Smoke Alarm Issues: A Homeowner’s Experience and Guide
One of the most valuable assets in maintaining our homes’ safety is the smoke alarm. But what happens when this indispensable device starts exhibiting issues? Based on my own experiences as a homeowner, I’m here to share some practical tips and insights on troubleshooting common smoke alarm issues.
Understanding Common Smoke Alarm Issues
Smoke alarms, while usually reliable, can sometimes exhibit problems. Here are some of the issues I’ve encountered with my smoke alarms over the years:
- Frequent False Alarms: My smoke alarm once had a period of setting off frequent false alarms, caused by everything from burnt toast to steam from the shower.
- Chirping or Beeping: If your smoke alarm emits intermittent chirps or beeps, it might be signaling a problem. Mine once kept me up all night with its incessant chirping!
- Alarm Doesn’t Sound During Tests: If you’re performing regular tests on your smoke alarm (as you should!) and it doesn’t sound, this indicates an issue. I experienced this with an older model of my Kidde smoke alarm.
Troubleshooting Smoke Alarm Issues
Overcoming these issues often requires some troubleshooting. Here’s what I’ve learned from my experiences:
- Frequent False Alarms: If your smoke alarm is frequently set off by non-fire sources, it may be too sensitive. You can try moving it away from kitchens, bathrooms, or other sources of smoke or steam. Cleaning the smoke alarm can also help, as accumulated dust can sometimes cause false alarms.
- Chirping or Beeping: This issue often signifies a low battery. When my smoke alarm started chirping, I replaced the batteries, which resolved the problem. However, if the chirping continues after a battery replacement, it may indicate that the alarm is at the end of its life and needs to be replaced.
- Alarm Doesn’t Sound During Tests: If the alarm doesn’t sound during a test, it’s possible the batteries are dead or not installed correctly. In my case, a battery replacement fixed the issue. However, if the problem persists, it could mean the alarm itself is faulty and needs to be replaced.
Knowing When to Call a Professional
While many smoke alarm issues can be resolved at home, some problems may require professional help. If your smoke alarm continues to malfunction despite your troubleshooting efforts, it’s time to call in a professional. I had to resort to this when one of my older alarms consistently failed to sound during tests even after a battery replacement.
Replacing or Reconnecting Your Smoke Alarm: A Personal Guide from a DIY Enthusiast

As a homeowner and DIY enthusiast, I’ve learned a great deal about home maintenance, including handling smoke alarms. These essential devices can sometimes require replacement or reconnection, tasks that might seem daunting but are manageable with the right guidance. Drawing from my personal experiences, I’ve compiled this guide to help you navigate the process of replacing or reconnecting your smoke alarm.
Recognizing the Need for Replacement
Smoke alarms don’t last forever. The National Fire Protection Association recommends replacing smoke alarms every 10 years. I found this out the hard way when one of my older alarms consistently failed to sound during tests. Also, frequent false alarms or persistent chirping even after a battery change can indicate a need for replacement.
Choosing the Right Smoke Alarm
Before replacing your smoke alarm, it’s essential to choose the right model. Your choice should depend on factors such as the size of your home, whether you prefer a battery-operated or hardwired model, and specific features like carbon monoxide detection. I chose to replace my old alarm with a First Alert combination smoke and carbon monoxide alarm for enhanced safety.
Steps to Replace Your Smoke Alarm
Here’s a basic guide to replacing your smoke alarm:
- Turn Off Power: If you have a hardwired model, make sure to turn off the power from your circuit breaker.
- Remove Old Smoke Alarm: Twist your old smoke alarm to detach it from its mounting bracket.
- Disconnect Power and Remove Bracket: For hardwired models, disconnect the power cable. Next, remove the mounting bracket.
- Install New Bracket: Fix the new mounting bracket (that comes with your new smoke alarm) to the ceiling or wall.
- Connect Power Cable: For hardwired models, connect the power cable to your new smoke alarm.
- Attach New Smoke Alarm: Attach your new smoke alarm to the mounting bracket.
Remember, safety comes first. If you’re uncomfortable handling this on your own, don’t hesitate to call a professional.
Reconnecting Your Smoke Alarm
In some cases, your smoke alarm might need to be reconnected rather than replaced. This can happen after you’ve temporarily disconnected it for cleaning or battery replacement. To reconnect, simply replace the batteries for a battery-operated model, or plug in the power cable and switch on the power for a hardwired model.
In my experience, always ensure to test the smoke alarm after reconnecting it to confirm it’s working correctly.
Regular Maintenance and Testing of Smoke Alarms: Lessons from a Safety-Conscious Homeowner
As a safety-conscious homeowner, I’ve come to appreciate the critical role that smoke alarms play in keeping my family safe. However, these devices require regular maintenance and testing to function effectively. From my personal experience, here’s a guide to ensuring your smoke alarm is always in top shape.
The Importance of Regular Maintenance and Testing
Regular maintenance and testing of your smoke alarm are essential for several reasons:
- Ensure Functionality: Testing your smoke alarm helps confirm it’s working properly. I once discovered during a routine test that my alarm was faulty, potentially averting a disaster.
- Prolong Lifespan: Regular maintenance can help extend the lifespan of your smoke alarm, saving you the cost of frequent replacements.
- Compliance with Safety Standards: Regular testing is also a requirement under safety standards like those from the National Fire Protection Association.
Regular Maintenance Tips
Regular maintenance of your smoke alarm involves the following steps:
- Cleaning: Dust and debris can cause your smoke alarm to malfunction or trigger false alarms. I’ve found that gently using a vacuum cleaner attachment around the vents can help keep my First Alert smoke alarm clean.
- Checking Batteries: For battery-operated models, check the batteries regularly. My rule of thumb is to replace them once a year, even if they haven’t run out.
- Replacing the Alarm: Even with the best maintenance, smoke alarms should be replaced every 10 years according to safety standards.
Testing Your Smoke Alarm
Testing your smoke alarm is a simple process:
- Press the Test Button: All smoke alarms have a test button. When pressed, it should trigger the alarm. If the alarm doesn’t sound, it’s time to replace the batteries or the alarm itself.
- Use Smoke: For a more comprehensive test, you can use canned smoke, available at most hardware stores. Spray the smoke towards the alarm and wait for it to sound.
- Schedule Regular Tests: I like to schedule my tests to coincide with daylight savings time changes, making it easier to remember.
FAQ on Smoke Alarms: Personal Insights from a Homeowner’s Perspective
As a homeowner, I’ve experienced the many questions and concerns that arise when dealing with smoke alarms. So, I thought it would be helpful to compile a list of frequently asked questions (FAQs) and provide answers based on my personal experiences and research.
Why is my smoke alarm beeping?
A beeping or chirping smoke alarm can be caused by several issues. In my experience, the most common cause is a low battery. However, if the beeping persists even after a battery change, it may indicate the alarm is at the end of its life.
How often should I replace the batteries in my smoke alarm?
As a rule of thumb, I replace the batteries in my Kidde smoke alarm once a year, even if they haven’t run out. It’s better to be safe than sorry.
Why does my smoke alarm go off when I’m cooking?
Smoke alarms can be sensitive to any particles in the air, not just smoke from a fire. I’ve experienced this firsthand when my alarm was set off by smoke from my cooking. Consider moving your smoke alarm away from your kitchen to prevent false alarms.
What’s the difference between ionization and photoelectric smoke alarms?
Ionization alarms are better at detecting flaming fires, while photoelectric alarms are better at detecting smoldering fires. I chose a dual-sensor model that combines both technologies for comprehensive fire detection in my home.
How often should I test my smoke alarm?
The National Fire Protection Association recommends testing your smoke alarm at least once a month. I personally conduct tests every time we switch between standard time and daylight saving time.
How long do smoke alarms last?
Smoke alarms typically last around 10 years, after which they should be replaced. I discovered this the hard way when one of my older alarms consistently failed to sound during tests.